How to Install Pi-hole Using Docker on a Raspberry Pi: A Step-by-Step Guide
If you're looking for an easy and efficient way to block ads and trackers across your entire home network, Pi-hole is a powerful and reliable tool to consider. When paired with Docker on a Raspberry Pi, it becomes even more versatile, allowing for easier installation, updates, and management. This blog post will guide you through the process of setting up Pi-hole on your Raspberry Pi using Docker.

What is Pi-hole?
Pi-hole is a network-wide ad blocker that functions as a DNS sinkhole. It intercepts DNS queries and blocks those associated with ads and tracking domains, significantly improving your browsing experience and privacy.
Why Use Docker?
Docker provides a lightweight and isolated environment to run applications, making installation, updates, and maintenance much simpler. By using Docker to run Pi-hole, you can:
- Avoid polluting your system with additional dependencies.
- Easily back up or migrate your configuration.
- Quickly update Pi-hole by pulling the latest Docker image.
Prerequisites
Before starting, ensure you have the following:
- A Raspberry Pi (preferably 3B+ or newer) running a recent version of Raspberry Pi OS.
- Docker and Docker Compose installed.
- Basic understanding of command-line usage.
- Static IP address assigned to your Raspberry Pi.
Step 1: Install Docker and Docker Compose on Raspberry Pi
Docker is a containerization platform that lets you run applications in isolated environments. You can head on over to our post detailing how to install Docker and then come back here.
Create a Directory for Pi-hole
Create a dedicated directory for your Pi-hole configuration files:
mkdir ~/pi-hole && cd ~/pi-hole
Set Up the Docker Compose File
Create a docker-compose.yml file in the ~/pi-hole directory:
nano docker-compose.yml
Paste the following configuration into the file:
version: '3'

services:
  pihole:
    container_name: pihole
    image: pihole/pihole:latest
    ports:
      - "53:53/tcp"
      - "53:53/udp"
      - "67:67/udp"
      - "80:80/tcp"
    environment:
      TZ: 'Your/Timezone' # Replace with your timezone, e.g., 'America/New_York'
      WEBPASSWORD: 'your_password' # Replace with a secure password
    volumes:
      - './etc-pihole:/etc/pihole'
      - './etc-dnsmasq.d:/etc/dnsmasq.d'
    cap_add:
      - NET_ADMIN
    restart: unless-stopped
Customize Your Configuration
Replace Your/Timezone with your local timezone. Replace your_password with a strong password for the Pi-hole admin interface.
Start Pi-hole
Run the following command to start Pi-hole using Docker Compose:
docker-compose up -d
This will pull the latest Pi-hole Docker image, create the necessary containers, and run Pi-hole in detached mode.
Verify the Installation
Once the container is running, access the Pi-hole admin interface by visiting:
http://<your-raspberry-pi-ip>/admin
Log in using the password you set in the docker-compose.yml file.
Configure Your Router
To make Pi-hole your network's default DNS server, update your router's DNS settings to point to the Raspberry Pi's IP address. This step ensures all devices on your network use Pi-hole for DNS resolution.
Updating Pi-hole
Updating Pi-hole is simple with Docker. Navigate to your ~/pi-hole directory and run:
docker-compose pull
docker-compose down
docker-compose up -d
This sequence will pull the latest Pi-hole image, stop the running container, and restart it with the updated image.
Web Dashboard
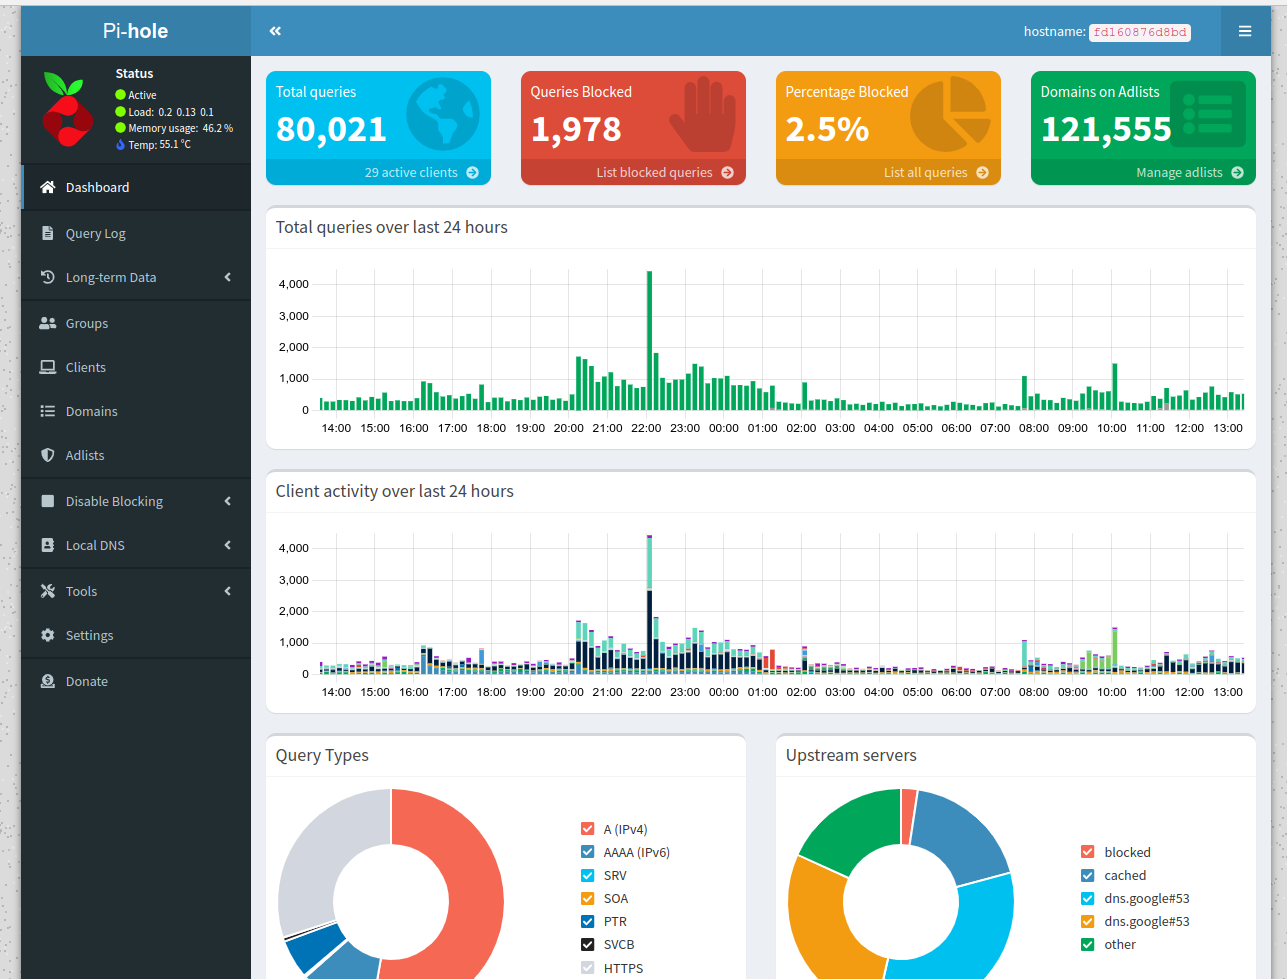
Now that your pihole is up and running, you can access it through the web ui. Navigate to the following address:
http://<ip-address>/admin
This will bring you to the following screen. Enter the password you put in the compose file above.

Now you're in! You can create DNS entries, monitor which devices are on your network and how much traffic they're sending and recieving etc... Pi hold is a fantastic tool!

Troubleshooting
Check Container Logs If something goes wrong, check the Pi-hole container logs:
docker logs pihole
Verify DNS Functionality
Test if Pi-hole is working by querying it directly:
nslookup pi.hole <your-raspberry-pi-ip>
Conclusion
Running Pi-hole on a Raspberry Pi with Docker is a straightforward way to enhance your home network's privacy and ad-blocking capabilities. With Docker, you can easily maintain and upgrade your setup, ensuring Pi-hole remains effective and secure. Enjoy an ad-free internet experience!