How to Install Portainer on a Raspberry Pi for Easy Docker Management
Portainer is an open-source tool that simplifies managing Docker containers through an intuitive web-based interface. Instead of using complex Docker commands in the terminal, Portainer lets you monitor, control, and manage containers, images, networks, and volumes in just a few clicks. Running Portainer on a Raspberry Pi makes for a fantastic, low-cost solution for handling home projects or testing Docker-based applications. This guide will walk you through installing Docker and Portainer on your Raspberry Pi and setting it up for hassle-free container management.
Requirements
Before starting, ensure you have the following:
- Raspberry Pi: Preferably, a Raspberry Pi 3 or later for optimal performance. While older versions of Raspberry Pi can technically run Docker and Portainer, the limited processing power and RAM may cause noticeable lag, especially if you're managing multiple containers.
- Operating System: Raspbian OS (now called Raspberry Pi OS), or any compatible Linux-based OS, installed and updated.
- Internet Connection: An internet connection for downloading Docker, Portainer, and related dependencies.
- Basic Terminal Skills: While Portainer simplifies Docker management, this installation process involves using a terminal. Familiarity with basic terminal commands will be helpful.
Step 1: Install Docker on Raspberry Pi
Docker is a containerization platform that lets you run applications in isolated environments. You can head on over to our post detailing how to install Docker and then come back here.
Install Script
Now that Docker is set up and configured, we can use it to install Portainer to our Raspberry Pi. We can pull the latest version of Portainer from Docker Hub using the following command.
sudo docker pull portainer/portainer-ce:latest
This will download the portainer server docker image to your device, which will allow us to run it.
Once Docker finishes we can run the following in the terminal on your Pi to start up Portainer.
sudo docker run -d -p 9000:9000 --name=portainer --restart=always -v /var/run/docker.sock:/var/run/docker.sock -v portainer_data:/data portainer/portainer-ce:latest
A few of the main things here are:
- Server port 9000.
- We want docker to restart this Portainer if it is ever unintentionally offline.
Accessing Portainer
We can now access portainer at the ip address of our pi along with the port number above.
If you don't know the ip or hostname of your pi you can get it by running the following command
hostname -I
You can then acces the site at here
http://[PI-IPADDRESS]:9000
First Time Setup
User Setup
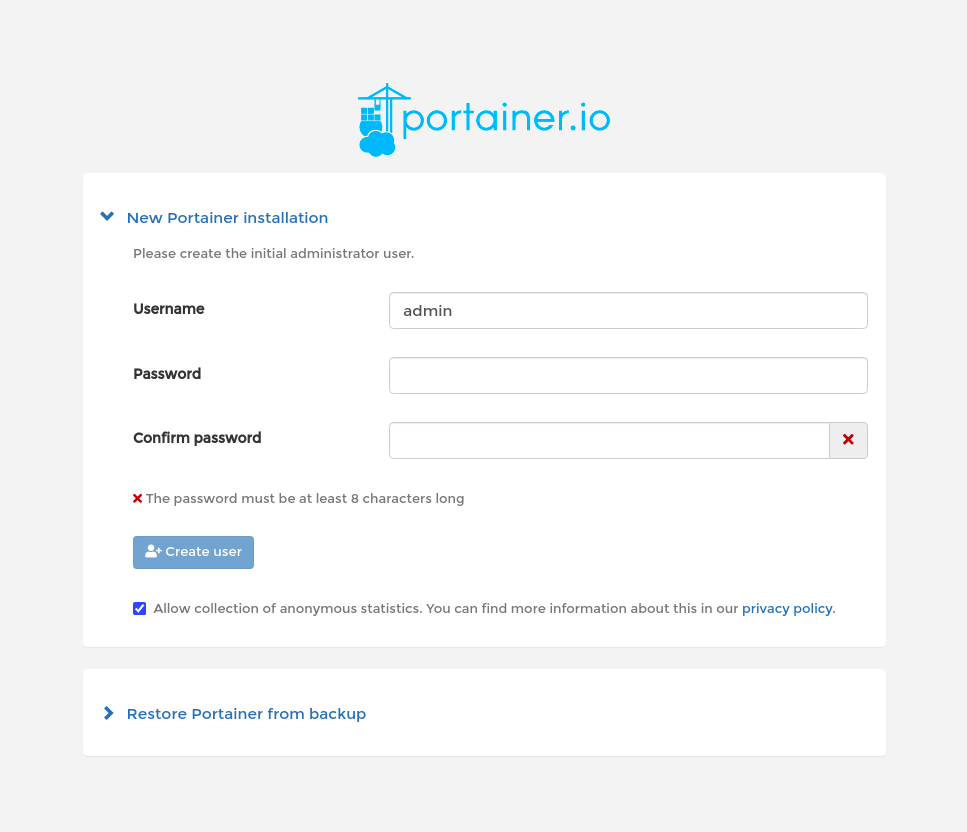
On your first time you access portainer it will ask for you to setup an admin name and password. Enter those in and make sure that you record the password.

Container Environment
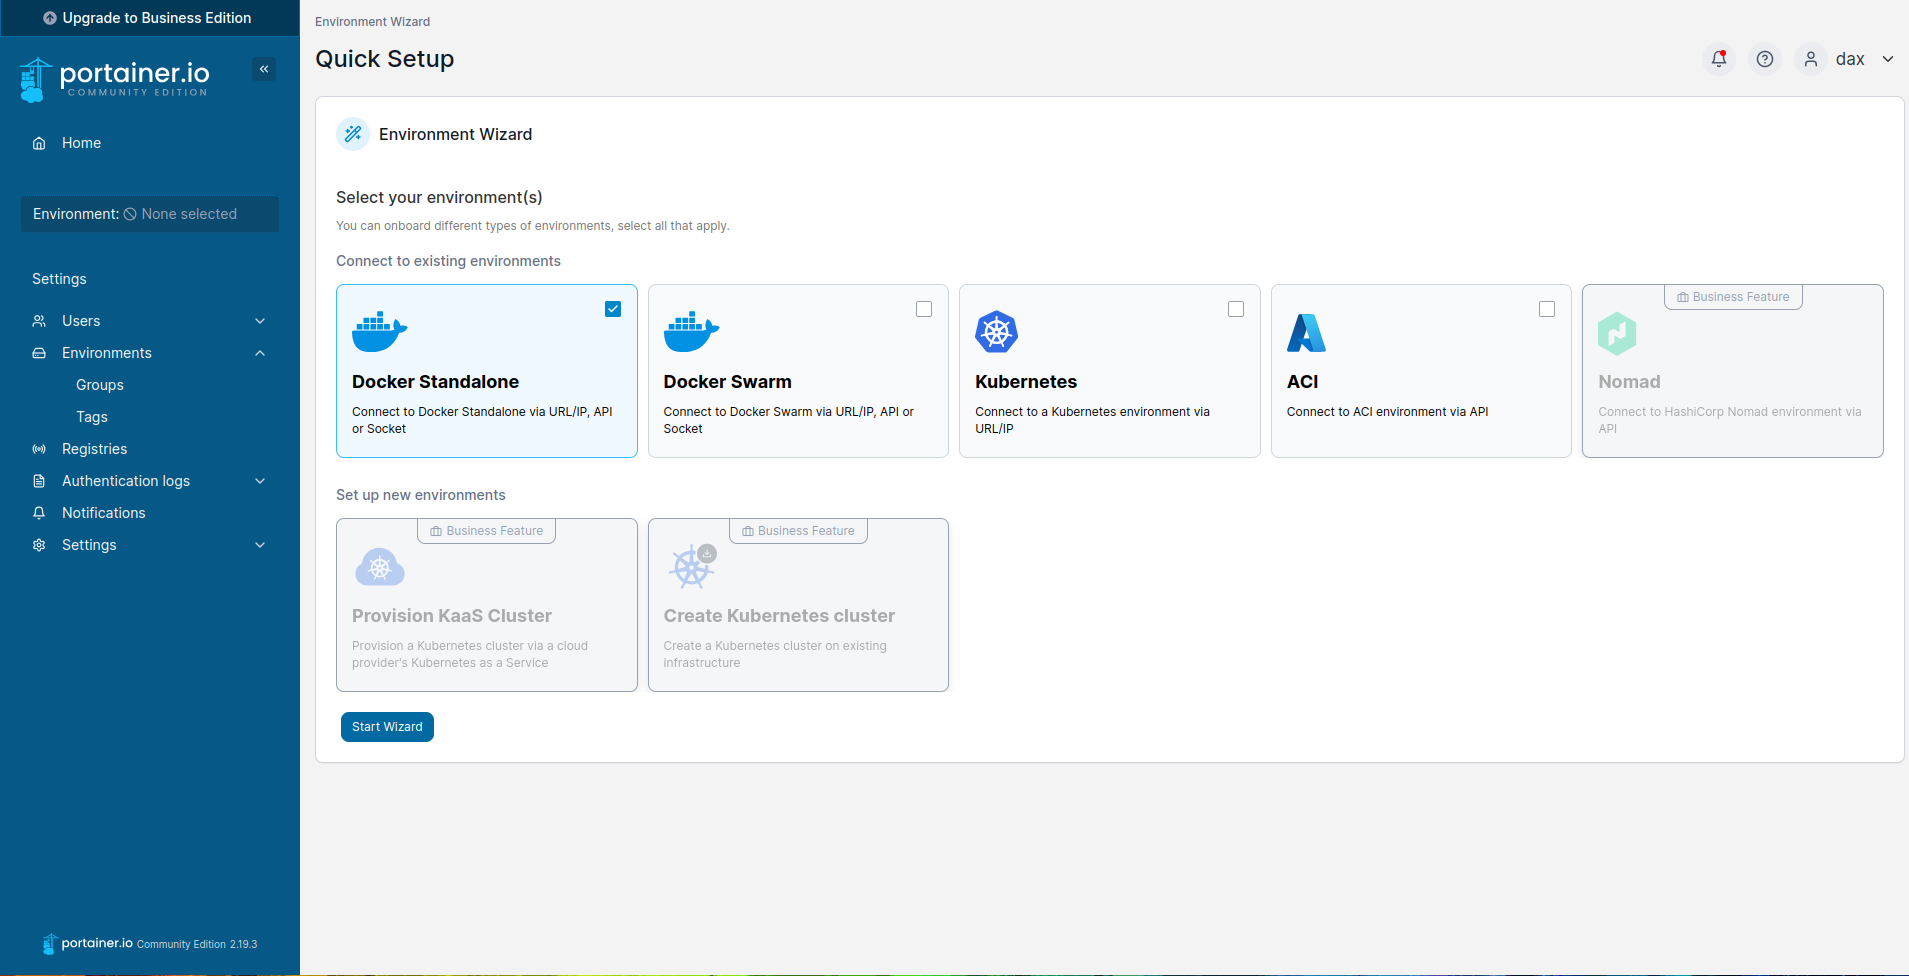
It will then ask you which container environement you want. You likely want to use Docker.
Once finished, click Connect.
Dashboard
You'll then be presented with a fresh new Portainer dashboard showing the locally running client on your pi.

Adding More Agents
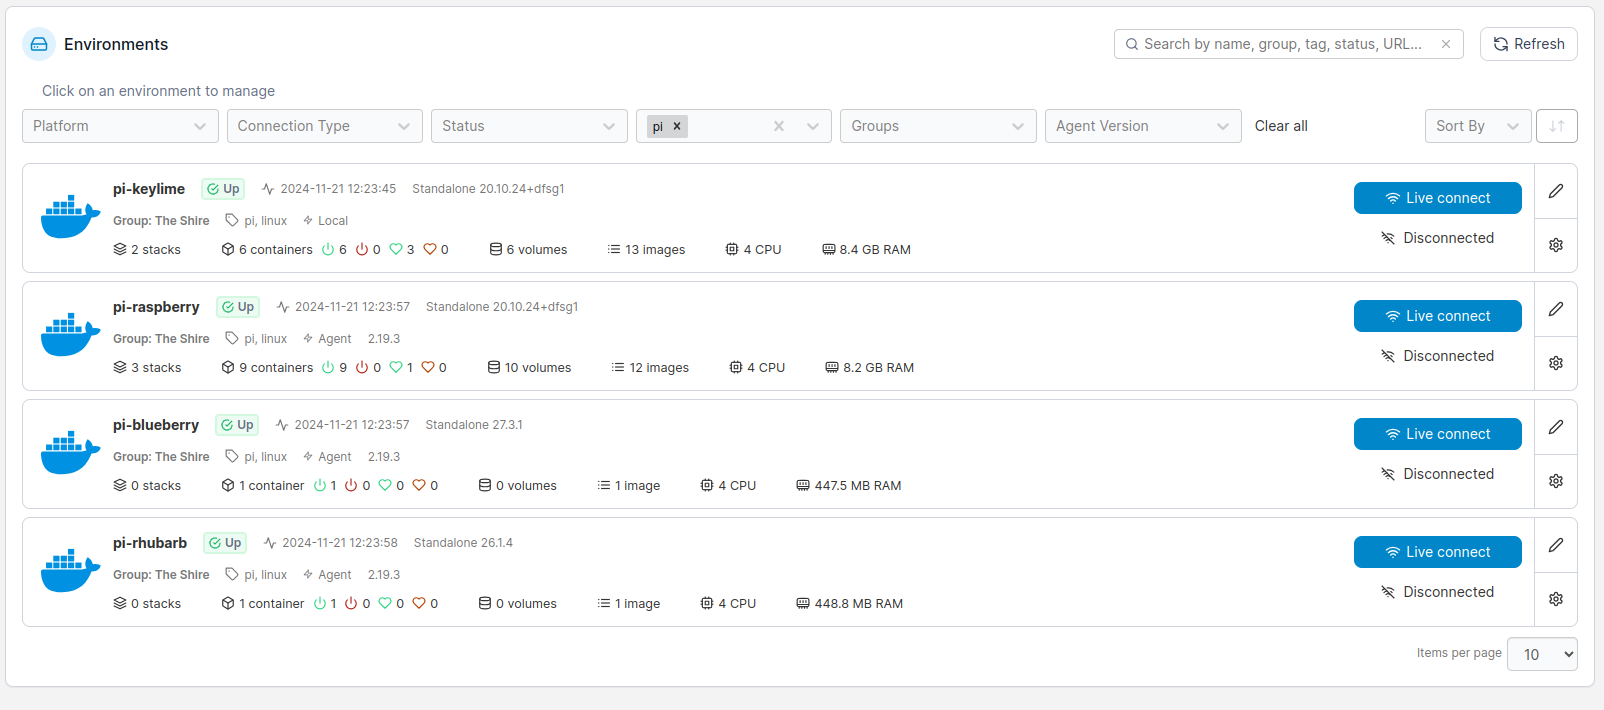
You can add multiple machines that are running docker to portainer which allows for an easy way to deploy and manage containers on each of those machines. You can see below multiple raspberry pi's connected to the main portainer server.

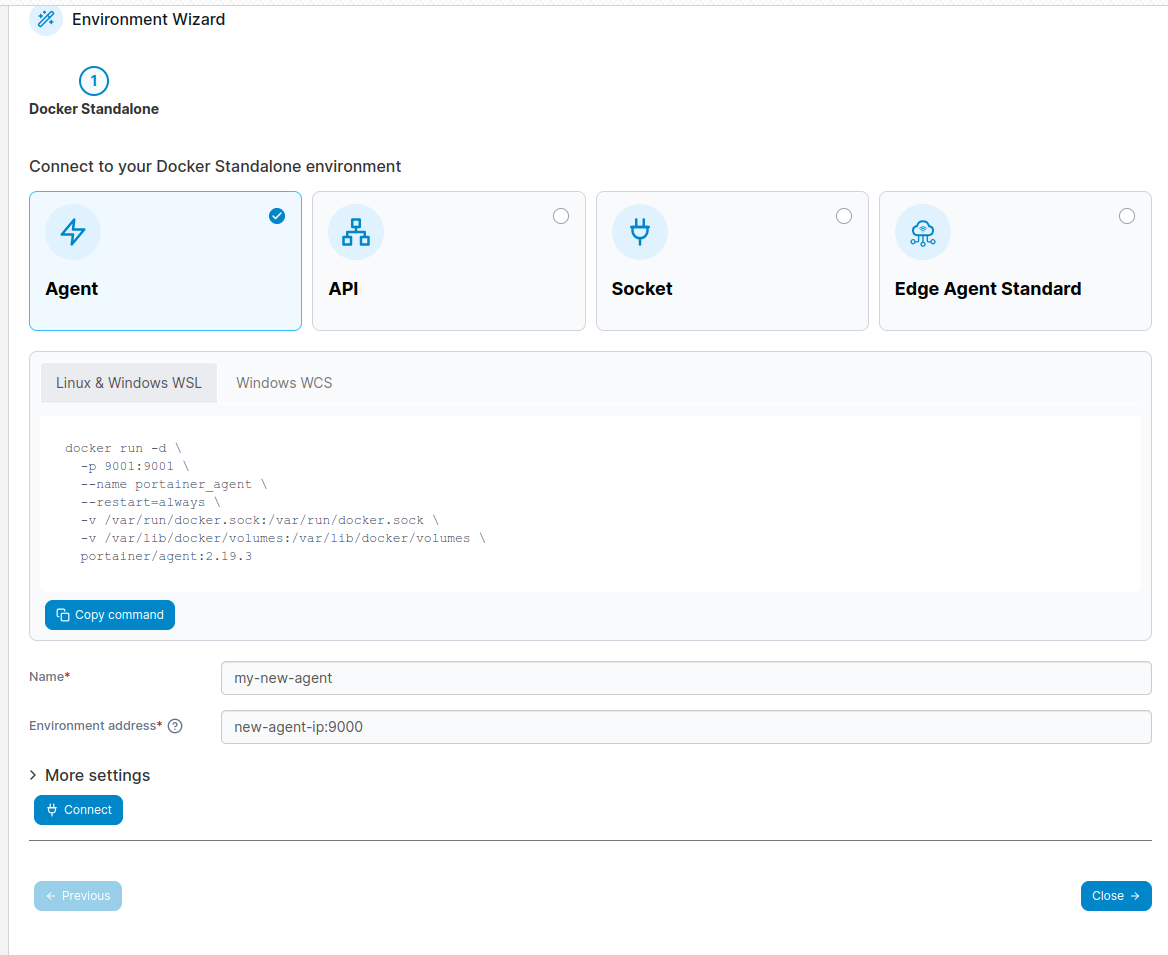
Portainer will give you the full command you need to run to connect your client to this instance:
Go to Environments > Add Environment. It will then let you choose which type of agent you want. You'll likely want Docker Standalone.

Next, run the following on the macine you want to have the portainer agent on.
Note: The new machine needs to have docker already installed on it for this command to run.
docker run -d \
  -p 9001:9001 \
  --name portainer_agent \
  --restart=always \
  -v /var/run/docker.sock:/var/run/docker.sock \
  -v /var/lib/docker/volumes:/var/lib/docker/volumes \
  portainer/agent:2.19.3
Once you've done that you can go back to the dashboard and fill in the 'Name' and ip address for this agent.

New Agents!
At this point you should now see your new agent in the dashboard!
Conclusion
Portainer makes managing Docker containers on a Raspberry Pi really simple and efficient. With this setup, you can easily deploy and monitor applications on your Raspberry Pi in a streamlined and accessible manner. Happy containerizing!